
Welcome to the world of efficient and effective cooling with mini split AC systems! If you’re tired of sweltering in the summer heat or dealing with bulky, inefficient window units, you’re in the right place. In this article, we’ll guide you through the process of properly sizing and installing a mini split AC system for optimal cooling in your space. Say goodbye to sweaty summer days and hello to cool, comfortable living in style!
Choosing the Perfect Mini Split AC: Key Considerations for Optimal Sizing
When it comes to finding the ideal mini split AC for your space, accurate sizing is crucial. Misjudging the capacity can lead to inefficient cooling or unnecessarily high energy bills. Consider the following factors to make the best choice:
- Room Size: Measure the square footage of the area you plan to cool. This will help determine the BTU (British Thermal Unit) rating required for effective temperature control.
- Ceiling Height: Rooms with higher ceilings might need a unit with a higher capacity. Don’t forget to factor in vertical space.
- Insulation Quality: Well-insulated rooms retain cool air better, potentially needing a smaller-capacity unit compared to poorly insulated spaces.
- Sun Exposure: Rooms with significant sunlight exposure will have greater cooling demands.
| Room Size (sq ft) | Required BTU |
|---|---|
| 100 – 200 | 6,000 – 9,000 |
| 300 - 500 | 12,000 – 18,000 |
| 600 - 1,000 | 24,000 – 30,000 |
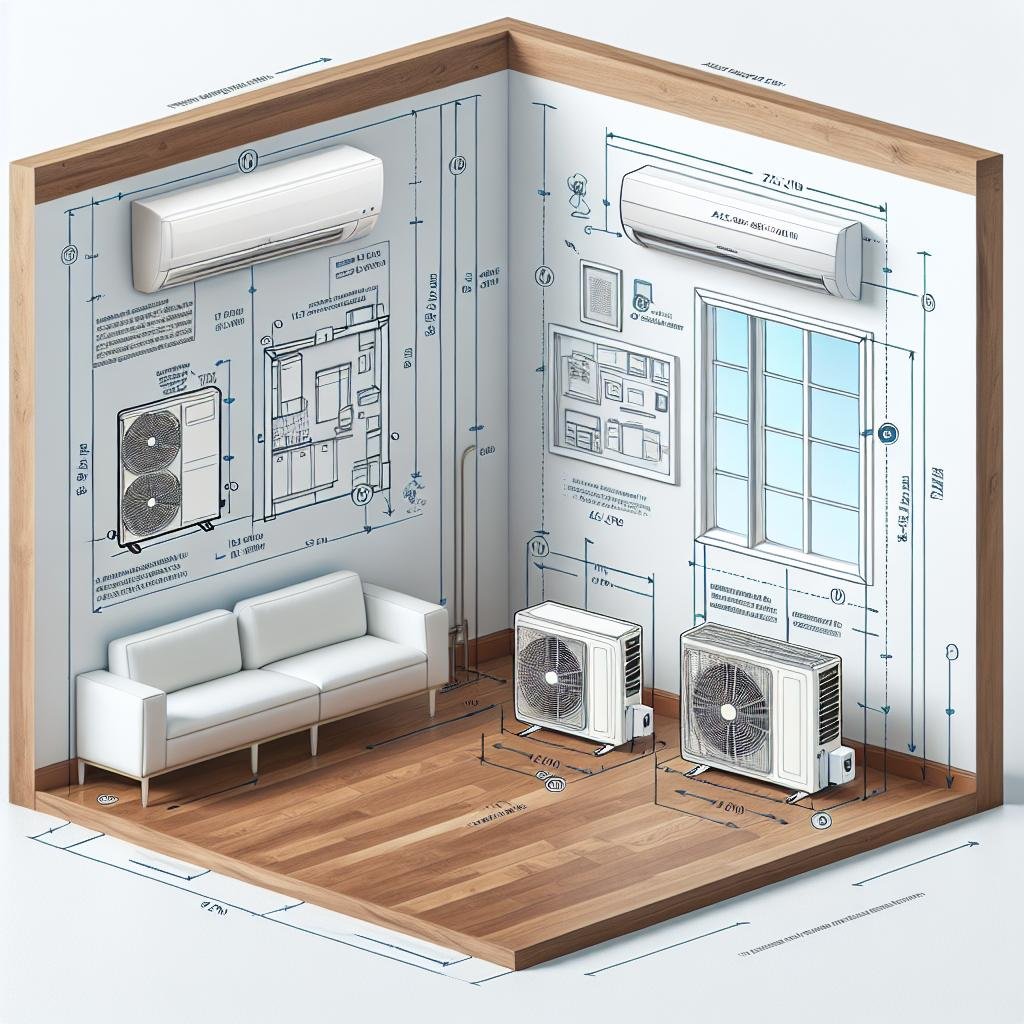
Additionally, the installation location significantly influences the efficiency of your mini split AC. Placing the indoor unit in areas with unobstructed airflow ensures even cooling. Opt for a wall that enhances cold air distribution across the room rather than installing it on walls directly exposed to sunlight or heat sources.
- Height Placement: Positioning the indoor unit higher on the wall optimizes air circulation.
- Connection Considerations: Ensure the distance between the indoor and outdoor units fits the manufacturer’s specifications for optimal operation.
- Air Handler Placement: Avoid mounting the air handler above frequently occupied zones to prevent the discomfort of direct airflow.

Step-by-Step Guide to Sizing Your Mini Split for Maximum Comfort
| Room Size (sq ft) | BTU Requirement |
|---|---|
| Up to 150 | 5,000 – 6,000 |
| 150 - 250 | 6,000 - 8,000 |
| 250 – 350 | 8,000 - 10,000 |
Finding the right size for your mini split AC system is crucial for achieving a blissful indoor climate. Under-sizing can lead to overwork and higher energy costs, whereas over-sizing can cause short cycling and uneven room temperatures. Start by measuring the square footage of the room you plan to cool, then match your findings with the BTU (British Thermal Units) requirements. Factors such as room insulation, ceiling height, and the number of windows will also influence the BTU needs. For assistance, many manufacturers offer online BTU calculators to simplify this step.
Once your BTU needs are identified, consider the placement of indoor and outdoor units. The indoor unit should be installed in a central location, free from obstructions like furniture, for optimal air distribution. On the other hand, the outdoor unit requires a well-ventilated space to release the absorbed heat. Ensure it’s away from direct sunlight and heavy foliage to maintain efficient operation. Proper positioning not only maximizes comfort but also extends the lifespan of your system, offering you a win-win situation.

Installing Your Mini Split AC Like a Pro: Tools and Techniques
To start, gather the essential tools: a reliable drill, a stud finder, a level, a pipe cutter, and a vacuum pump. Each piece of equipment has its role, from ensuring your mount is secure using the stud finder, to achieving precise cuts with the pipe cutter. Additionally, having a set of wrenches, a torque wrench, and a flare tool is indispensably beneficial for the secure installation of your refrigerant lines. For safety, keep safety goggles, gloves, and a dust mask handy. Here’s a brief list to check off:
<ul>

    <li><strong>Drill</strong></li>

    <li><strong>Stud Finder</strong></li>

    <li><strong>Level</strong></li>

    <li><strong>Pipe Cutter</strong></li>

    <li><strong>Vacuum Pump</strong></li>

</ul>


Proper technique is crucial when installing your mini split AC. Start by choosing an optimal location for both the indoor and outdoor units, ensuring minimal length for the refrigerant lines to improve efficiency. When mounting the indoor unit, make sure it's level to prevent water leaks and noise issues. For the outdoor unit, choose a location that’s shaded from direct sunlight and allows for good airflow. Precision counts, so double-check all measurements and fittings. The following table provides a quick reference for ideal placement:


<table class="wp-block-table">

    <thead>

        <tr>

            <th>Unit</th>

            <th>Optimal Placement</th>

        </tr>

    </thead>

    <tbody>

        <tr>

            <td>Indoor</td>

            <td>High on a wall, away from direct sunlight and heat sources.</td>

        </tr>

        <tr>

            <td>Outdoor</td>

            <td>Shaded, well-ventilated area, preferably on a solid pad.</td>

        </tr>

    </tbody>

</table>
Ensuring Efficiency: Tips for Proper Placement and Installation of Your Mini Split
Strategic placement of your mini split AC unit is crucial to maximize its cooling efficiency and to ensure a comfortable climate throughout your home. Firstly, consider the room’s layout and potential obstructions that might impede airflow. Avoid placing the indoor unit near heat sources such as ovens or direct sunlight, which can undermine its effectiveness. Ideal spots include high on a wall in a central location, ensuring the airflow is unobstructed and can circulate freely. This can help in distributing the cool air more evenly.
Proper installation involves more than just the correct placement of your mini split unit. Ensure that the outdoor unit has enough space around it for proper ventilation. Keep it away from obstacles like walls, shrubs, or other plants that could impede airflow. Also, mounting the outdoor unit on a sturdy, vibration-damping pad can reduce noise and enhance its performance. Here are some handy tips:
- Use a slight tilt for the indoor unit: This helps in the condensation drainage.
- Install the lineset properly: Ensure it is well insulated to prevent efficiency loss.
- Seal any wall penetrations: This keeps out pests and insulates the system effectively.
| Task | Why It’s Important |
|---|---|
| Level Outdoor Unit | Improves drainage and operational efficiency |
| Use Vibration Pads | Reduces noise and prolongs unit life |
| Insulate Lineset | Prevents energy loss and condensation issues |
Q&A
Q: What is a mini split AC system, and why should I consider it for my home?
A: Ah, the modern magic of cooling! A mini split AC system is like having your own personal climate magician. It’s a heating and cooling system split into two components: an outdoor compressor/condenser and one or more indoor air-handling units. These systems are fabulous because they’re energy-efficient, easy to install, and allow you to control the temperature in individual rooms or zones. Perfect for those hot summer days when a fan just won’t cut it and your ice cream is melting faster than you can eat it!
Q: How do I choose the right size mini split AC system?
A: Think of sizing your mini split AC like buying a pair of shoes. Too big, and you’ll be tripping over yourself; too small, and you’ll be squeezing into discomfort. You’ll want to measure the square footage of the space that needs cooling. Mini split systems are rated in BTUs (British Thermal Units), and you’ll typically need about 20 BTUs per square foot of living space.
For a quick breakdown:
- 150 to 300 sq. ft. → 5,000 to 7,000 BTUs
- 300 to 500 sq. ft. → 8,000 to 12,000 BTUs
- 500 to 800 sq. ft. → 14,000 to 18,000 BTUs
- 800 to 1,200 sq. ft. → 20,000 to 24,000 BTUs
Remember, bigger isn’t always better, and an oversized unit will cycle off too quickly, reducing efficiency. It’s about finding that Goldilocks ”just right” fit!
Q: What tools and materials do I need for installing a mini split system?
A: Ready to unleash your inner handyperson? Here’s a basic toolkit for your mini split adventure:
- Power drill and bits
- Screwdrivers
- A level
- Pipe wrenches
- A vacuum pump
- Refrigerant gauge set
- Tube cutter
Materials include:
- Mounting brackets
- Bolts and screws
- Electrical wiring
- Insulation tape
- Drain hose
Make sure to grab a buddy, as you’ll need an extra pair of hands to juggle everything!
Q: Can I install a mini split system myself?
A: Hold your horses! While you can certainly get your hands dirty with some aspects of the installation, like mounting the indoor unit and running wiring, it’s wise to call in a pro for certain parts. Handling refrigerant lines and ensuring the system is charged correctly requires specialized knowledge. Plus, an improperly installed unit can void the warranty and lead to efficiency issues.
But don’t worry, you’ll still get bragging rights for the sweat equity you put into the project!
Q: Any tips for maintaining my mini split system post-installation?
A: Glad you asked! Maintenance is key to keeping your mini split system purring like a content cat.
-
Clean the filters regularly: Dust and debris can accumulate, blocking airflow and reducing efficiency. Pop out those filters once a month and give them a good wash.
-
Inspect the outdoor unit: Clear away leaves, dirt, and any potential obstructions that could hinder performance.
-
Check refrigerant levels: Low refrigerant can mean trouble. An HVAC pro can check this during a routine inspection.
-
Clean the coils: Both indoor and outdoor coils need to be clean for the optimal transfer of heat. A soft brush or a vacuum should do the trick.
Think of these tasks as little love notes to your mini split, ensuring it keeps you cool and comfortable for years to come!
Q: What are some common mistakes to avoid when installing a mini split system?
A: Oh, the adventures and misadventures of home improvement! Here are a few common pitfalls to watch out for:
-
Skipping the manual: Every unit has its quirks. Give that manual a read to understand your specific system.
-
Improper placement: Installing the indoor unit in a location where it’s blocked or insufficiently ventilated can hamper functionality. Think flow and accessibility!
-
Incorrect refrigerant pressure: Too high or too low, and you’re looking at efficiency issues. This is where calling in a pro really counts.
-
Neglecting the tilt: The outdoor unit should have a slight tilt to prevent water accumulation, which could damage the system.
With these tips in mind, you’re ready to embark on your mini split AC installation journey with confidence. Happy cooling! 🌬️
Closing Remarks
As we conclude our journey into the world of mini split AC systems, it’s clear that mastering the art of sizing and installing these cooling champions can transform any space into a serene haven of comfort. Whether you’re a seasoned DIY wizard or just starting to dabble in home improvement, embracing the intricacies of feisty BTUs, clever condensers, and nimble air handlers not only ensures efficient cooling but also breathes new life into your sanctuary.
Remember, the path to a perfectly chilled haven is paved with precision and patience. With the right tools and a sprinkle of determination, your mini split AC system can become the unsung hero of your summer – a silent force against the sweltering heat.
Happy cooling, and may your spaces forever be breezy and blissful! 🌬️✨