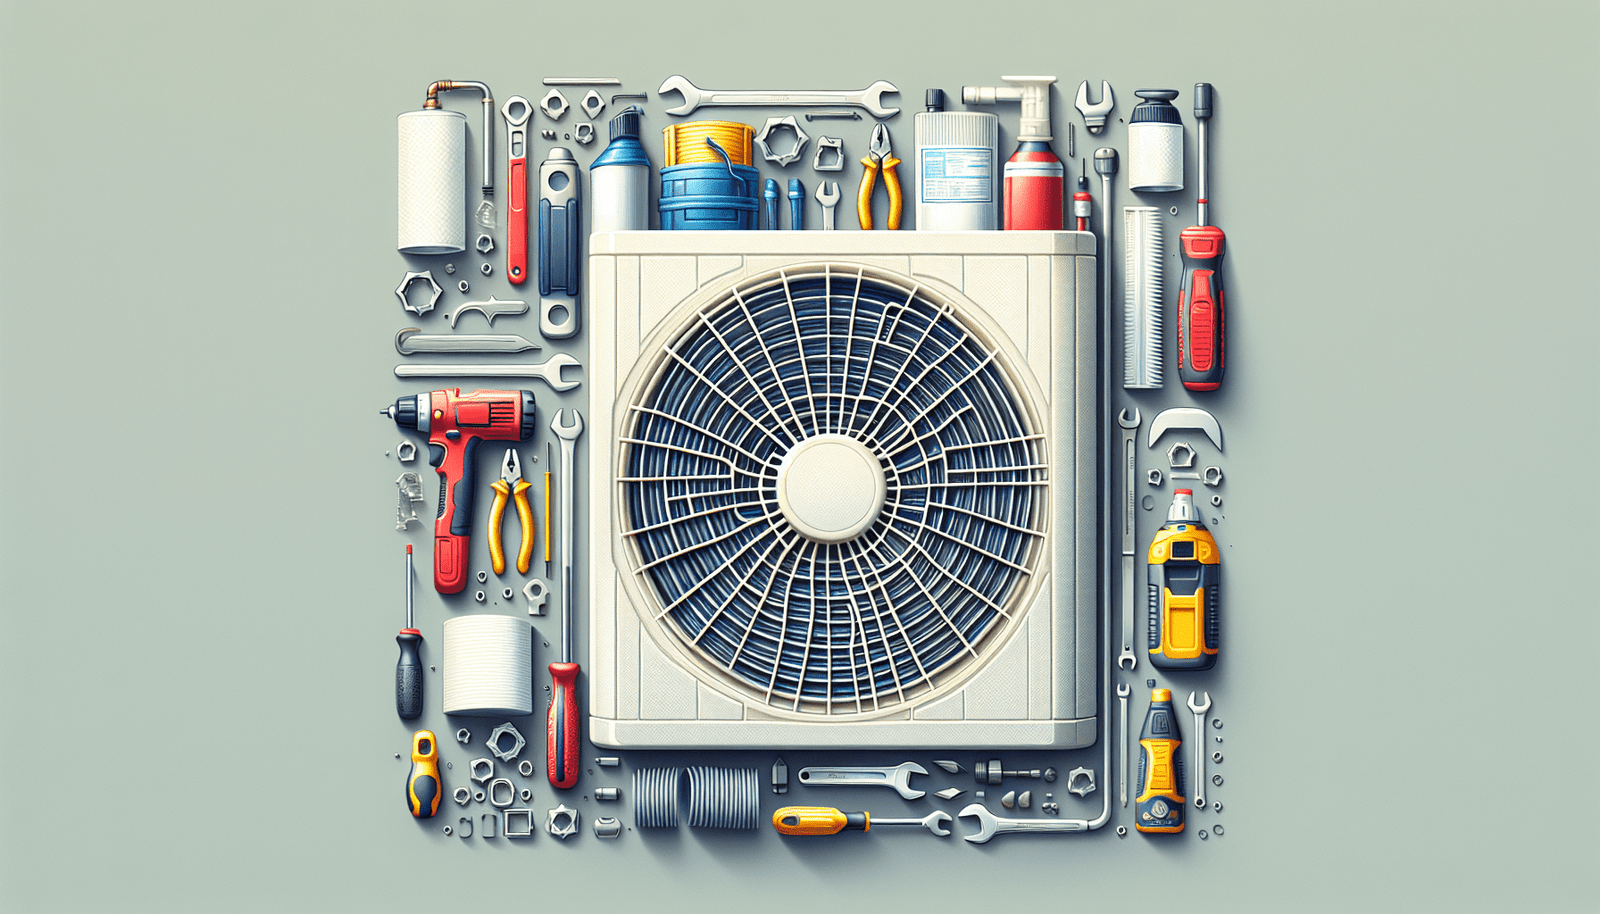
If you own a mini split AC system, you’ll know how essential it is to keep it running smoothly. With summer just around the corner, it’s time to ensure your AC is in top shape to beat the heat. Luckily, maintaining your mini split AC system doesn’t have to be a daunting task. In this article, we’ll share some friendly tips on how to give your AC the care it deserves, so you can enjoy cool and comfortable temperatures all summer long.

Cleaning the Filters
Regularly Cleaning the Air Filters
To ensure the optimal performance of your mini split AC system, it is important to regularly clean the air filters. These filters are responsible for trapping dust, dirt, and other particles in the air, preventing them from entering your indoor space. Over time, these filters can become clogged, reducing airflow and efficiency.
To clean the air filters, start by switching off the power to the indoor unit. Open the front panel of the unit and locate the filters. Gently remove the filters and inspect them for dirt and debris. If the filters are reusable, use a vacuum cleaner to remove the dirt. For heavily soiled filters, you can wash them with mild detergent and warm water. Make sure they are completely dry before reinstalling.
Cleaning or Replacing the Filters
In some cases, the air filters might be beyond cleaning due to extensive dirt buildup or damage. It is recommended to replace them with new filters to maintain the efficiency of your mini split AC system. Replacement filters can be easily purchased from the manufacturer or authorized dealers. Remember to follow the manufacturer’s guidelines for filter replacement to ensure compatibility and optimal performance.
Cleaning the Indoor Unit’s Coils
Aside from cleaning the air filters, it is also important to clean the indoor unit’s coils. These coils are responsible for cooling the air and can accumulate dust and dirt over time. This can hinder the heat exchange process and reduce the system’s efficiency.
To clean the indoor unit’s coils, start by turning off the power to the unit. Remove any dust or debris from the coil fins using a soft brush or vacuum cleaner with a brush attachment. Be gentle to avoid bending the fins. For more thorough cleaning, you can use a coil cleaner specifically designed for AC systems. Follow the instructions provided by the manufacturer for safe and effective coil cleaning.
Inspecting and Cleaning the Outdoor Unit
Checking for Debris and Dirt
The outdoor unit of your mini split AC system is exposed to the elements and can easily accumulate debris and dirt. Regularly inspecting and cleaning the outdoor unit is crucial to ensure proper airflow and prevent any potential damage.
Start by visually inspecting the unit for any leaves, grass, or other debris that might have accumulated around or inside the unit. Use a soft brush or broom to gently remove any visible dirt or debris from the unit’s exterior.
Cleaning the Exterior
In addition to removing visible debris, it is important to clean the exterior of the outdoor unit. Use a hose to spray water on the unit, starting from top to bottom. This will help remove any stubborn dirt or buildup. Avoid using high-pressure water or any cleaning agents, as they can damage the unit’s delicate components.
Checking the Fan Blades
The fan blades in the outdoor unit play a crucial role in circulating air and heat exchange. Inspecting and cleaning the fan blades is essential to ensure their smooth operation.
Carefully examine the fan blades for any dirt, dust, or signs of damage. If you notice any debris or buildup, use a soft cloth or brush to gently clean the blades. Take extra caution to prevent bending or damaging the blades during cleaning.
Inspecting the Refrigerant Lines
The refrigerant lines are an integral part of your mini split AC system, responsible for transferring heat between the indoor and outdoor units. Regularly inspecting these lines is important to ensure their integrity and prevent any refrigerant leaks.
Visually inspect the refrigerant lines for any signs of damage, such as cracks, wear, or corrosion. If you notice any issues, it is best to contact a certified technician to assess and repair the problem. Attempting to fix refrigerant lines without proper knowledge and equipment can cause serious damage and may result in a refrigerant leak.
Checking and Cleaning the Condensate Drain Line
Locating the Drain Line
The condensate drain line is responsible for removing excess moisture from your mini split AC system. Over time, this drain line can become clogged with algae, mold, or debris, leading to water backups or leaks.
Locate the condensate drain line, typically found near the indoor unit. This line is usually made of PVC and can be identified by its white or clear appearance. If necessary, refer to the manufacturer’s manual for guidance on locating the drain line.
Flushing the Drain Line with Bleach or Vinegar
To clean the condensate drain line, start by turning off the power to the indoor unit. Prepare a mixture of bleach or vinegar and water in a ratio of 1:1. Remove the cap or fitting from the condensate drain line and carefully pour the cleaning solution into the line.
Allow the solution to sit in the drain line for about 30 minutes, effectively killing any algae or mold buildup. Afterward, flush the drain line with clean water to remove any remaining debris or residue. Repeat this process every few months to maintain the cleanliness of the condensate drain line.
Installing a Drain Line Purge Device
For added convenience and to prevent future clogs, consider installing a drain line purge device. This device utilizes compressed air to purge the condensate drain line, effectively preventing the buildup of algae and mold. Consult a certified technician for proper installation and to ensure compatibility with your mini split AC system.
Clearing the Surrounding Area
Removing Obstructions
To ensure optimal performance and airflow, it is important to clear the area surrounding your mini split AC system. Remove any obstructions, such as furniture, plants, or other objects that might restrict airflow.
Check the immediate surroundings of both the indoor and outdoor units. Make sure there is ample space for air circulation and avoid placing any objects on top of or in front of the units. This will help the system operate efficiently and prevent overheating.
Trimming Vegetation
In addition to removing immediate obstructions, it is important to trim any vegetation or plants that might obstruct the outdoor unit. Overgrown branches, leaves, or vines can hinder airflow and potentially damage the unit.
Regularly inspect the area around the outdoor unit and trim any vegetation that is encroaching on the unit. Ensure a clearance of at least 2-3 feet around the unit to maintain optimal performance and prevent any potential damage.

Inspecting and Tightening Electrical Connections
Turning off the Power
Before inspecting or tightening any electrical connections, it is crucial to turn off the power to your mini split AC system. This will help prevent any accidents or electric shocks during the maintenance process.
Locate the main power switch or circuit breaker for your mini split AC system and switch it off. Double-check that the power is effectively turned off by attempting to operate the system. If it does not turn on, you can proceed with inspecting and tightening the electrical connections safely.
Checking for Loose Connections
Over time, the electrical connections in your mini split AC system can become loose due to vibrations or normal wear and tear. Inspecting these connections is important to ensure proper functioning and prevent any electrical issues.
Carefully examine the electrical connections, including those in the indoor and outdoor units. Look for any loose or corroded connections that might need tightening or cleaning. If you notice any damaged wires or components, it is best to contact a certified technician for repairs.
Tightening the Connections
Using a suitable screwdriver or wrench, tighten any loose electrical connections in your mini split AC system. Be cautious not to overtighten, as this can cause damage. Ensure that the connections are secure and snug to prevent any potential electrical hazards.
Testing and Calibrating the Thermostat
Verifying Temperature Accuracy
The thermostat is the control center of your mini split AC system and plays a vital role in maintaining comfort and energy efficiency. Regularly testing and calibrating the thermostat is important to ensure accurate temperature readings and optimal performance.
Start by setting the thermostat to a desired temperature and observe if the system responds accordingly. Use an external thermometer to verify the accuracy of the displayed temperature. If there is a significant difference between the two readings, it might indicate a calibration issue with the thermostat.
Checking the Calibration
If you suspect a calibration issue with the thermostat, consult the manufacturer’s manual for instructions on adjusting or calibrating the unit. Some thermostats allow for manual calibration, while others might require professional assistance. Follow the provided guidelines carefully to ensure accurate temperature control and energy efficiency.
Cleaning the Vents and Registers
Vacuuming the Vent Covers and Registers
The vents and registers in your mini split AC system can accumulate dust, dirt, and other particles over time. Cleaning these components is important to maintain proper airflow and prevent any blockages.
Start by switching off the power to the indoor unit and locating the vent covers or registers. Gently remove these covers and use a vacuum cleaner to remove any dust or dirt. Pay extra attention to the fins and louvers, as they can easily accumulate debris. For effective cleaning, use a brush attachment to reach into the crevices and corners of the covers.
Cleaning the Vents with Warm Soapy Water
For a more thorough cleaning, you can wash the vent covers and registers with warm soapy water. Remove the covers and soak them in a mixture of mild detergent and warm water for a few minutes. Use a soft brush or cloth to gently scrub away any dirt. Rinse the covers thoroughly with clean water and allow them to dry completely before reinstalling.
Inspecting the Insulation on the Air Lines
Checking for Signs of Damage
The insulation on the air lines of your mini split AC system is responsible for preventing condensation and maintaining efficient heat exchange. Regularly inspecting this insulation is important to ensure its integrity and prevent any energy loss.
Visually inspect the insulation on the air lines for any signs of damage, such as tears, cracks, or gaps. Damaged insulation can lead to condensation buildup, energy loss, and decreased system efficiency. If you notice any issues, consider repairing or replacing the damaged insulation to maintain optimal performance.
Repairing or Replacing Damaged Insulation
If you identify any damaged insulation on the air lines, it is important to address it promptly. Small tears or gaps can be patched with special insulation tape or sealant. Ensure that the repair is secure and properly sealed to prevent any air leakage or moisture buildup.
For more extensive damage or if the insulation is severely compromised, it is best to replace the insulation entirely. Contact a certified technician for assistance in selecting the appropriate insulation materials and for professional installation.
Inspecting and Lubricating the Fan Motor
Checking for Proper Lubrication
The fan motor in your mini split AC system plays a crucial role in circulating air and maintaining system performance. Regularly inspecting and lubricating the fan motor is important to ensure smooth and efficient operation.
Carefully examine the fan motor for any signs of excessive friction or lack of lubrication. If you notice any squeaking or grinding noises during operation, it might indicate the need for lubrication. Consult the manufacturer’s manual for specific instructions on the type of lubricant to use and the proper lubrication points.
Applying Lubricant if Necessary
If the fan motor requires lubrication, turn off the power to the indoor unit and locate the lubrication points as directed by the manufacturer. Apply a small amount of the recommended lubricant to the designated points. Avoid over-lubricating, as this can cause damage or create a mess. Ensure that the lubricant is evenly spread and the fan motor rotates smoothly.
Scheduling Professional Maintenance
Hiring a Certified Technician
While regular maintenance tasks can be performed by homeowners, it is highly recommended to schedule professional maintenance for your mini split AC system. Certified technicians have the expertise and specialized tools to thoroughly inspect and service your system, ensuring optimal performance and safety.
When hiring a certified technician, consider their experience, certifications, and customer reviews. It is best to contact the manufacturer or authorized dealers for a list of recommended service providers. Regular professional maintenance can extend the lifespan of your mini split AC system, prevent costly repairs, and ensure efficient operation.
Annual or Bi-annual Maintenance Check-up
To keep your mini split AC system in top condition, it is advisable to schedule annual or bi-annual maintenance check-ups with a certified technician. These check-ups should include a comprehensive inspection, cleaning, and servicing of all system components, along with any necessary repairs or adjustments.
During the maintenance check-up, the technician will evaluate the overall condition of your system, address any potential issues, and provide recommendations for optimal performance. Additionally, they can help identify any warranty requirements and offer tips for efficient operation and energy savings.
By following these maintenance tips for your mini split AC system, you can ensure its longevity, energy efficiency, and optimal performance. Remember to refer to the manufacturer’s manual for specific guidelines and recommendations tailored to your particular system. Regular maintenance will not only provide you with a comfortable indoor environment but also help minimize the need for costly repairs or replacements.